 |
| Pegs in main room, we added valances later |
OK, I said it. I LOVE Shaker Pegs and Bob and I have gone rather wild installing them in our cottage.
For those of you who don't know about the Shakers, they were a progressive religious group that prospered in the 1800's and had a large settlement about 15 minutes from our home. It is now a restored living history village, well worth visiting if you are in the Lexington/Frankfort area.
 |
| Two rows of pegs in small bathroom. |
But what I want to talk about today is the pegs. Bob and I love Shaker pegs and have them in our bedroom at home and have painted our home the same blue and white that is used in the Meeting House at Pleasant Hill Shaker Village.
 |
| We extended them all the way left from the window. Great for hanging coffee cups on. |
Making the most out of the space inspired us to put them in every room and I even have them in my closet!

I have some right under my clothes rod on the both sides so that I can hang up my nightgown in the morning and any clothes I take off and want to re-wear the next day, like my jeans.
 |
| Shoe pegs. My shoes can hardly wait till the glue has dried in the freshly made peg rails. |
 |
| Pegs for coats when you come in the door. |
I can also hang my purse on a peg so I will be able to find it. We also put pegs around the inside of my closet 12 inches from the floor so that I could hang my shoes on them. Bob thought I was a bit over the top with all these pegs in my closet, but he decided to put 6 in his too.

Now, if you are thinking this looks like something that might make your house, or maybe a room in your house, more functional, I am here to give you the benefit of our experience in the best way to make peg rails.
First off, we buy the pegs. We have used different types over the years, but I have been most impressed with the ones we bought from Shaker Workshops this year. We bought the hard maple pegs and they are the finest quality we have ever used. I highly recommend them.
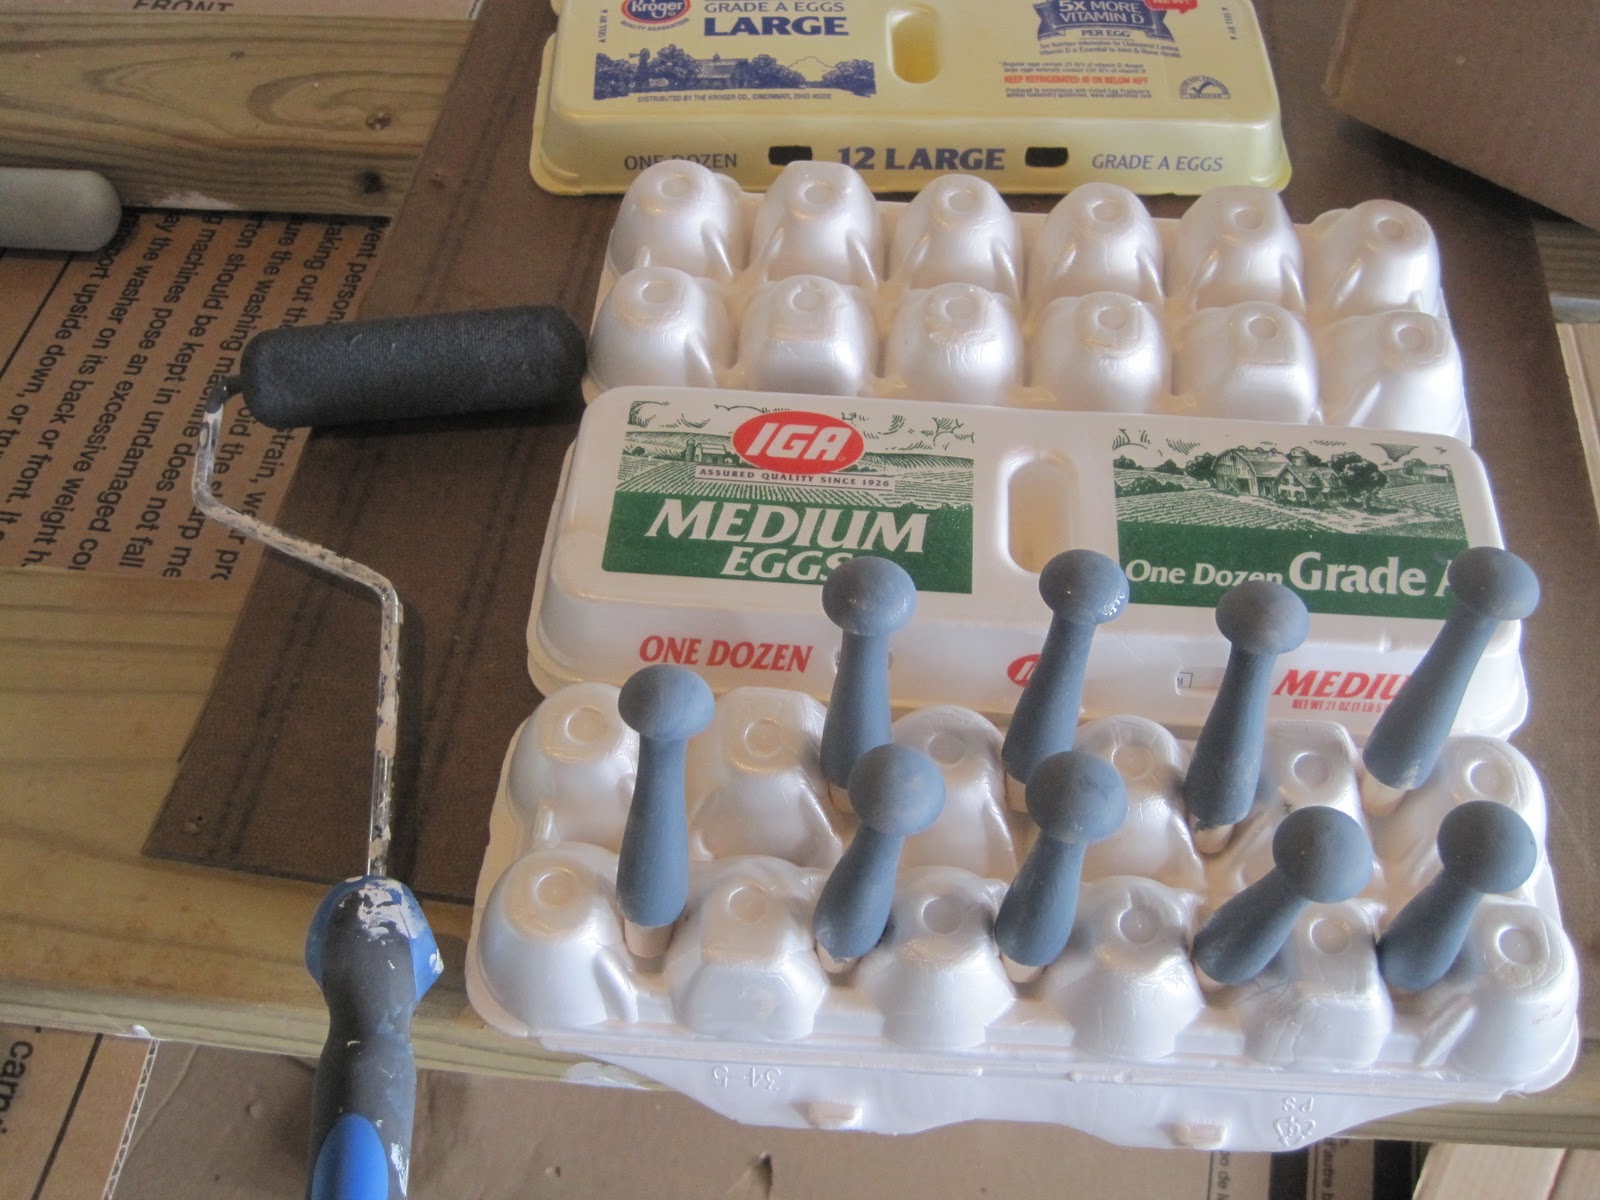
OK, first off I paint all the pegs. I put one coat of primer and one coat of the finish paint on top. I got my primer tinted to be the same color as my finish coat, but my friend Linda reminded me that if you buy Benjamin Moore Aura paint, you don't have to prime and one coat does the trick. I will remember this next time I do pegs.
I used to use a regular 1" paintbrush but this year I used a small foam roller and it worked fantastic. I use egg cartons to hold them while they dry. It is a bit tedious, but it went faster than I thought it would. I do all 100 pegs at one time.

Next I paint 1x4 boards, priming first, then putting on the top coat. You don't need to paint the backs because these will be screwed or nailed to the wall. Then we measure the size we need for the different walls, saw to the right length, and label the backs with the location. We don't do the whole house, but try to measure and cut several boards at one time.


Then we measure 1/2 that distance [2.5"] from the end and drill our first hole. This way, the pegs will be centered. Bob has a drill press, which makes it easy, but you could use a regular drill. Make the hole big enough to be able to pound in your peg. For the pegs we used, we made 1/2" holes.

Bob makes a template that has a beginning hole and then another hole at 11" so that he can match up the beginning hole with the last hole he drilled and easily drill the next hole exactly 11" away without measuring. This makes for accurate spacing, quickly.

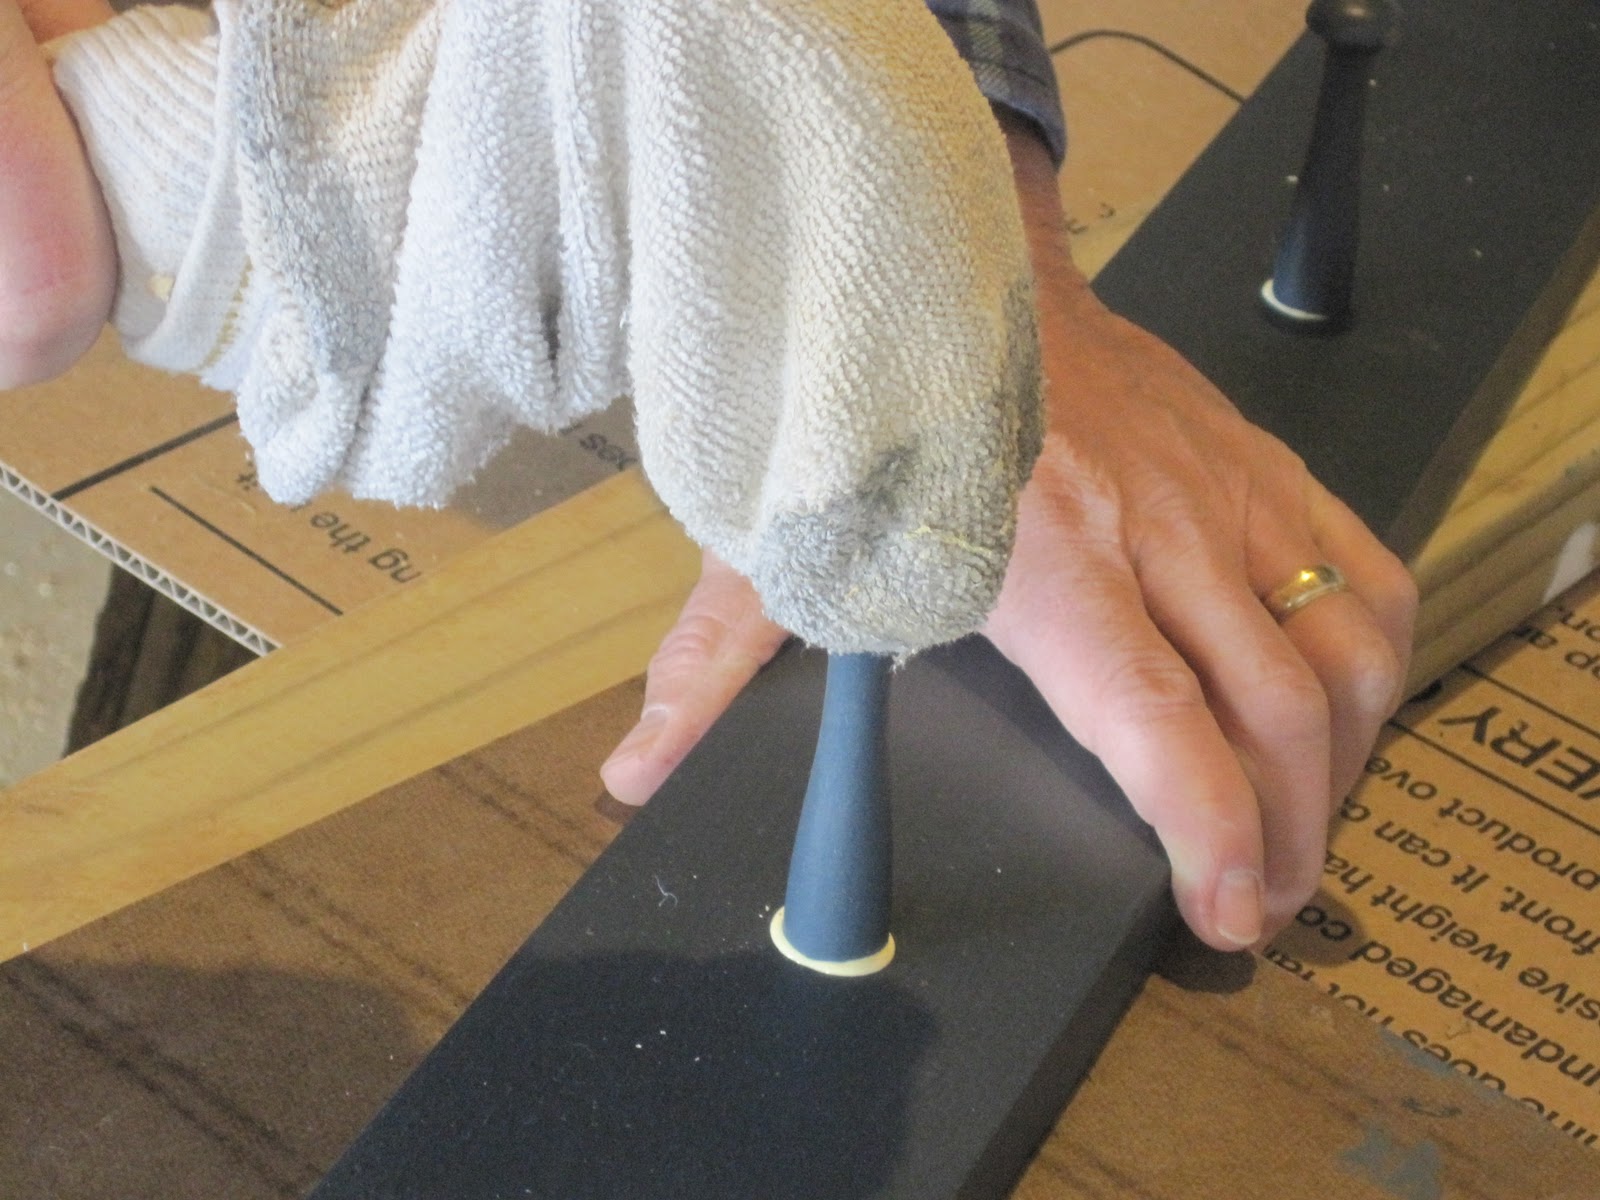
Then he glues each peg and puts each one in a pre-drilled hole. We use a carpenter's wood glue. He pounds them in. Usually we use a rubber mallet, but I think the boys had our with the sport's equipment so they could pound in Cricket wickets, so we used a hammer with a sport sock over it. It worked great.
After he is done gluing and pounding them in, I use a warm wet rag and wipe the excess glue off from around each peg.
Now this looks rather precarious [below], and it was, but this is the only photo I have of Bob screwing them up. He uses drywall screws and tries to hit a stud and we always check to be sure the rail is level before we screw it up. You could nail it too, but we use the drywall screws. Bob pre-drills every hole before he drives the screw in, so it is time consuming. Here he is balanced on a narrow ledge that runs along the top of the stairwell to the basement. It was a bit tense for a few minutes.

The secret to success is to have a great stud-finder and this one is amazing--the best we have ever had... We have no idea where we found it, but you can find this type on Amazon for about $10. It has a really strong magnet and actually sticks to the wall when it finds a nail or screw under the drywall. No batteries, just a great hard-working piece of equipment.

After we finish putting up the rails for the day, Bob goes around and patches over all the screw heads [he sinks them into the wood] with some wood-fill. The next day he will lightly sand and I go around with a small paintbrush and paint over all the wood-fill and over any glue that you can see or any place that needs touch up. It goes pretty quickly and really finishes the job up nice.

In our bedroom Bob made a little Shaker shelf [something like this] and we have the alarm clock on it. He has made bookshelves that hang from the pegs too. They are quite versitile.
Well, I guess that is all there is to know about pegs. If you have questions, feel free to email me.
Take care,
Jill
Beautiful! I love the way they look. Can't wait to see them.
ReplyDeleteI like them, Jill, but I am a little worried for you. After all, they are just pegs. :)
ReplyDeleteShannon--Just pegs! That's like saying, "Just Chocolate." Glad you like them, we had fun working on them together.
ReplyDelete